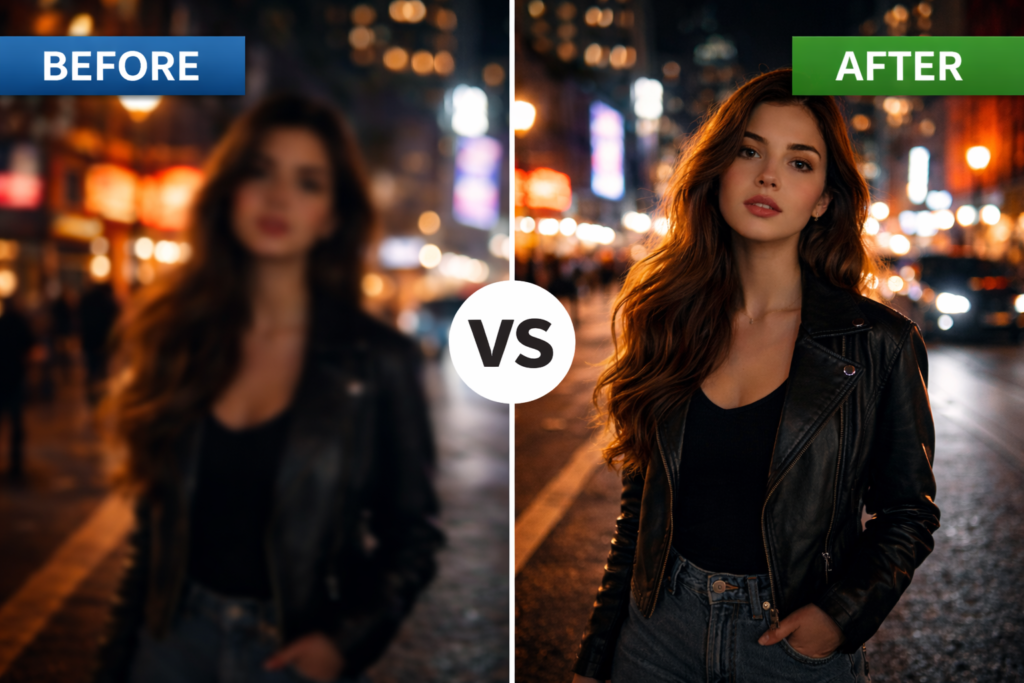
Creating YouTube videos has never been easier, but many creators still struggle to achieve professional-looking results. You might have a great camera, good ideas, and quality editing software, yet your videos don’t look as sharp, cinematic, or polished as those of successful YouTubers.
The reason is often simple: incorrect camera settings.
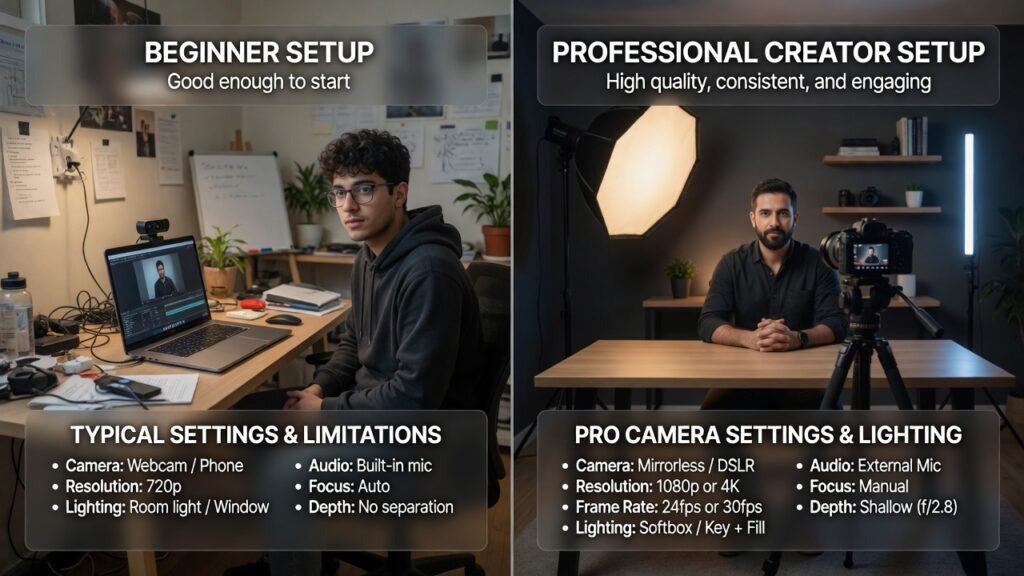
Understanding the best camera settings for YouTube videos can dramatically improve image quality, make your footage look more professional, and help you build a stronger brand. Whether you’re filming talking-head videos, tutorials, vlogs, product reviews, or cinematic B-roll, the right settings can make a huge difference.
In this guide, you’ll learn the exact camera settings professional creators use and how to apply them to your own workflow.
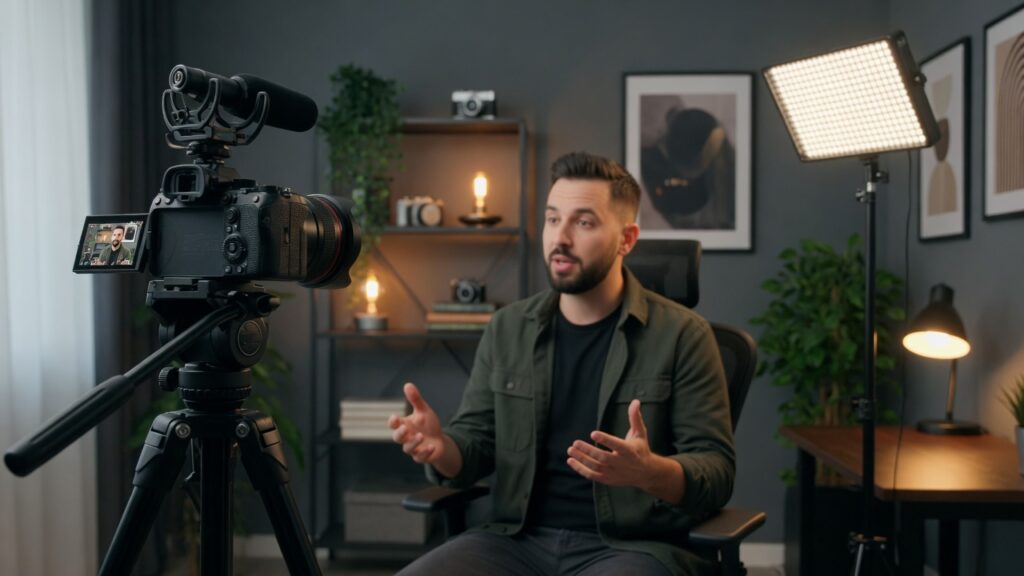
Table of Contents
What You Need Before Starting
Best Camera Settings for YouTube Videos are not enough. Before adjusting your settings, make sure you have the basics covered.
A Camera That Shoots Video
You can use:
- Mirrorless cameras
- DSLR cameras
- Compact cameras
- Smartphones
Modern smartphones are capable of producing excellent YouTube videos when used correctly.
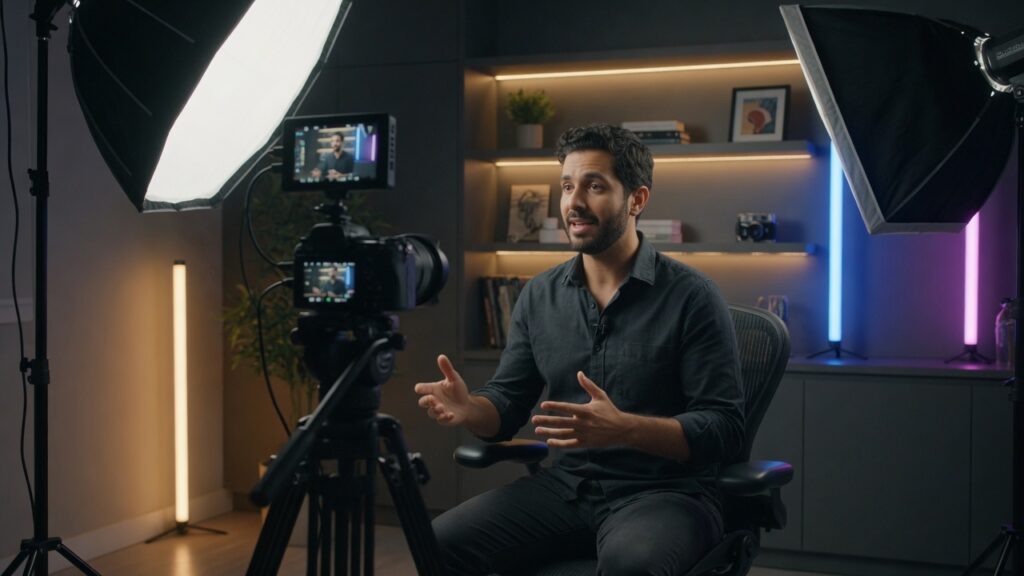
Good Lighting
Even perfect camera settings cannot fix poor lighting.
Recommended lighting options:
- Natural window light
- Softbox lights
- LED video lights
- Ring lights
Good lighting allows you to use lower ISO values and achieve cleaner footage.
A Stable Camera Setup
Use:
- Tripod
- Desk mount
- Monopod
- Gimbal (optional)
Stable footage instantly looks more professional.
Quality Audio
Viewers will forgive average video quality.
They will not forgive poor audio.
Consider:
- Lavalier microphones
- Shotgun microphones
- USB microphones
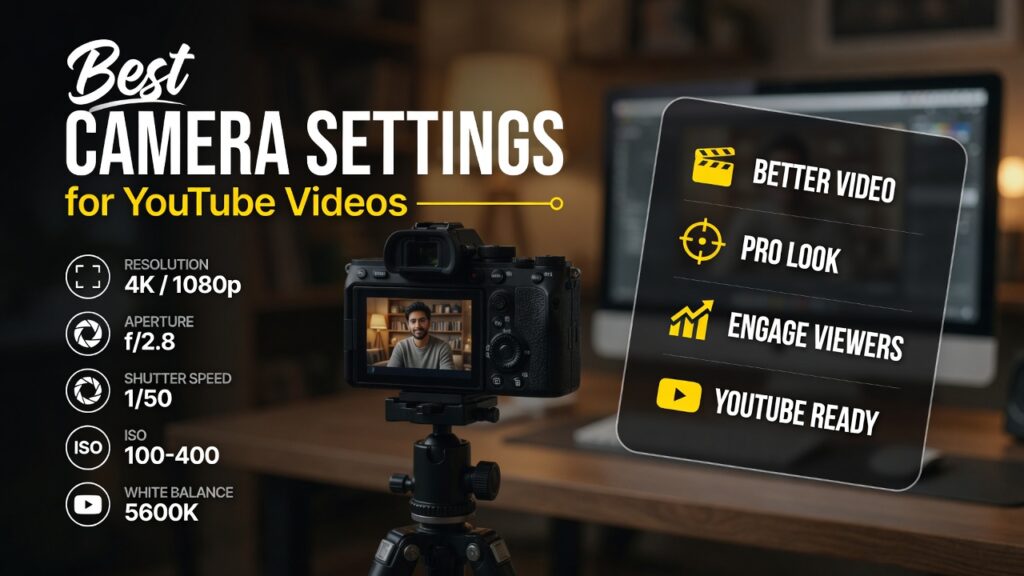
Step-by-Step Process: Best Camera Settings for YouTube Videos
Step 1: Choose the Right Resolution
For most YouTube creators:
Recommended Resolution
4K (3840 × 2160)
Benefits:
- Sharper footage
- Better cropping flexibility
- Future-proof content
If your camera struggles with 4K:
Alternative
1080p Full HD
Still perfectly acceptable for YouTube.
Step 2: Set the Correct Frame Rate
Frame rate affects motion.
Talking Head Videos
Use:
24fps or 30fps
Provides a natural appearance.
Tutorials and Reviews
Use:
30fps
Smooth and practical.
Action and B-Roll
Use:
60fps
Allows smooth, slow-motion footage.
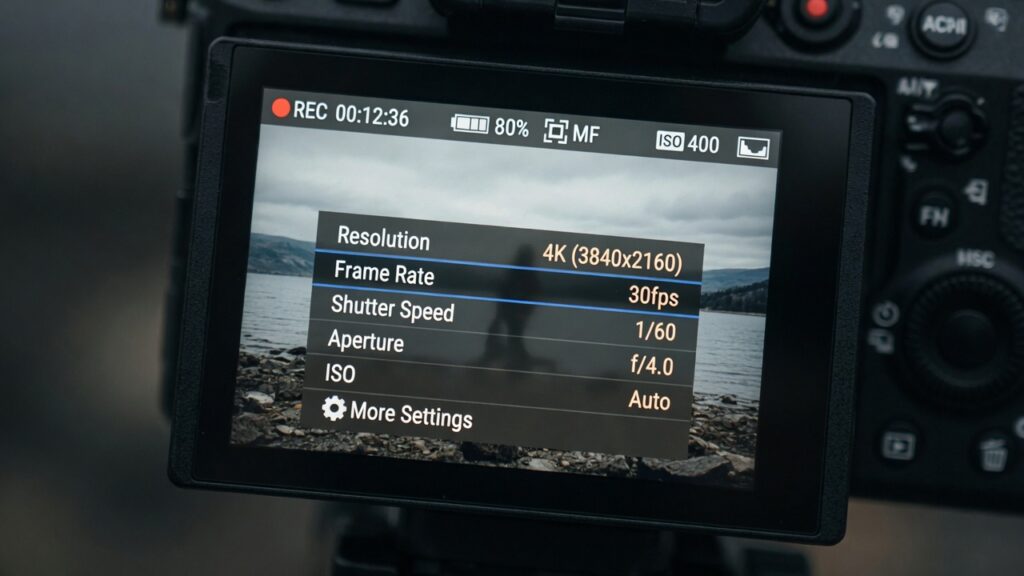
Step 3: Follow the 180-Degree Shutter Rule
Professional filmmakers use the 180-degree rule.
Set shutter speed to approximately double your frame rate.
Examples:
| Frame Rate | Shutter Speed |
|---|---|
| 24fps | 1/50 sec |
| 30fps | 1/60 sec |
| 60fps | 1/120 sec |
This creates natural motion blur.
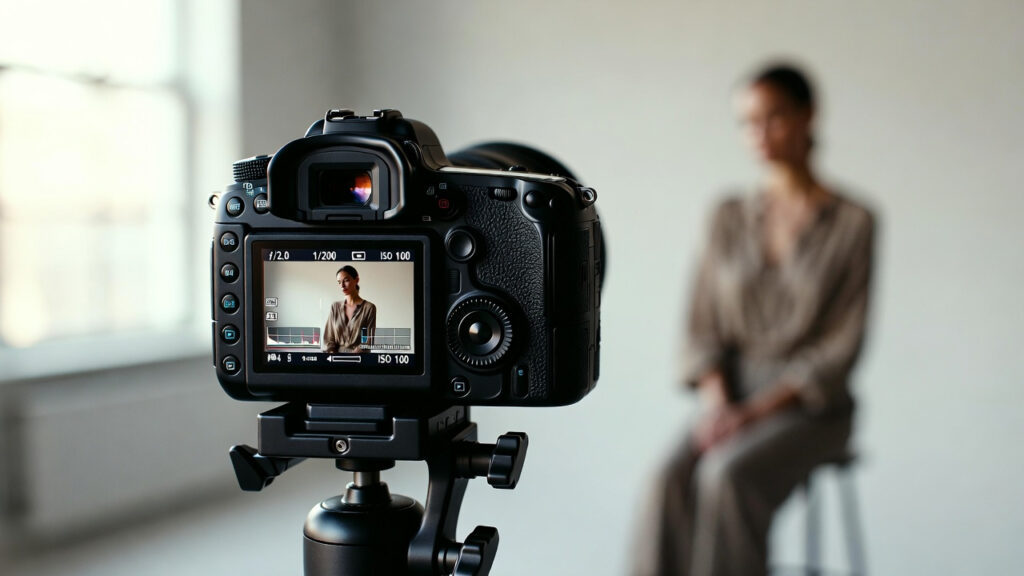
Step 4: Choose the Right Aperture
Aperture controls depth of field.
Talking Head Videos
Use:
- f/1.8
- f/2.0
- f/2.8
Benefits:
- Blurred background
- Professional look
- Subject separation
Tutorials or Product Videos
Use:
- f/4
- f/5.6
Provides greater sharpness.
Step 5: Keep ISO As Low As Possible
ISO controls sensor sensitivity.
Recommended:
- ISO 100
- ISO 200
- ISO 400
Lower ISO means:
- Less noise
- Better image quality
- Cleaner footage
Increase the lighting before increasing ISO.
Step 6: Set White Balance Manually
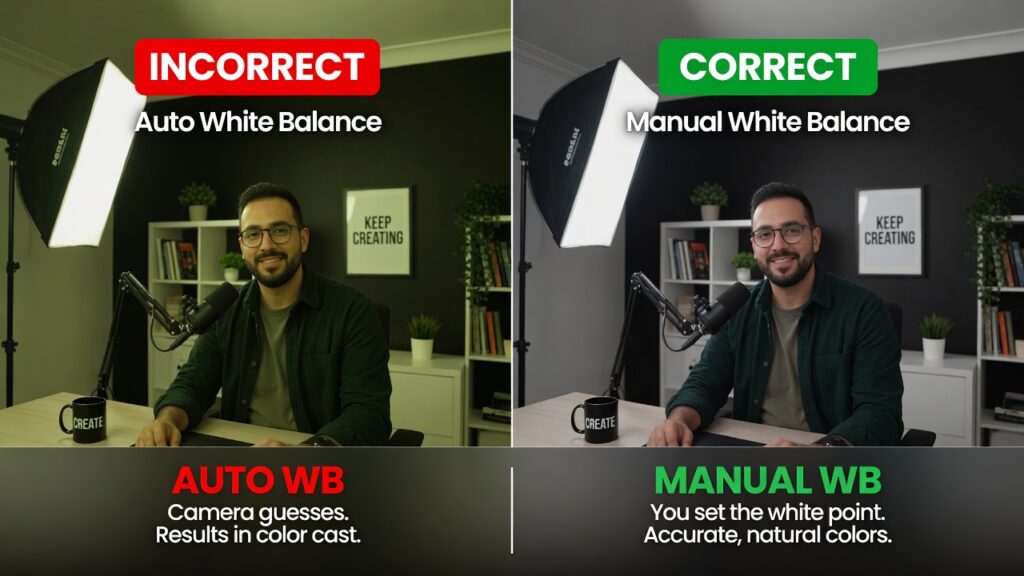
Avoid Auto White Balance.
Manual settings create consistent colors.
Examples:
Daylight
5500K
Cloudy
6500K
Indoor LED Lights
4500K–5500K
Manual white balance prevents color shifts during recording.
Step 7: Use Continuous Autofocus
Most modern cameras offer:
- Face Detection
- Eye Tracking
- Subject Tracking
Enable these features when filming yourself.
Benefits:
- Consistent focus
- Professional appearance
- Less editing frustration
Step 8: Choose a Picture Profile
Beginners
Use:
- Standard
- Neutral
Advanced Creators
Use:
- Log profiles
- Flat profiles
Examples:
- S-Log
- C-Log
- V-Log
These provide greater dynamic range and color grading flexibility.
Camera Settings and Workflow Tips
Use Manual Exposure
Avoid automatic exposure changes.
Lock:
- ISO
- Aperture
- Shutter speed
Your footage will appear much more professional.
Monitor Exposure
Use:
- Histogram
- Zebra patterns
Avoid clipping highlights.
Use ND Filters Outdoors
ND filters allow you to maintain proper shutter speed while shooting in bright sunlight.
Benefits:
- Better motion blur
- Cinematic appearance
- Improved image quality
Record Clean Audio Separately
Many professional creators prioritize audio over video quality.
Consider external recording solutions whenever possible.
Organize Your Workflow
Professional workflow:
- Set camera settings
- Check lighting
- Check focus
- Test audio
- Record
- Backup footage
Real-World Mistakes to Avoid
Using Auto Mode
Auto mode constantly changes settings.
This creates inconsistent footage.
Ignoring White Balance
Color shifts make videos appear amateur.
Always set white balance manually.
Using Extremely High ISO
High ISO introduces:
- Noise
- Reduced detail
- Poor image quality
Shooting Everything at 60fps
Many beginners think higher frame rates are always better.
For standard YouTube content:
24fps or 30fps often looks more natural.
Forgetting About Audio
Bad audio ruins otherwise excellent videos.
Invest in sound quality early.
Poor Lighting
Lighting matters more than camera settings.
A well-lit smartphone often outperforms an expensive camera in poor lighting.
Pro Tips to Improve Results
Use Eye Autofocus
Modern cameras offer remarkable eye-tracking capabilities.
Enable it whenever possible.
Shoot in 4K Even If Exporting 1080p
Benefits:
- Better detail
- Reframing options
- Sharper exports
Create a Custom Preset
Save your favorite settings:
- Frame rate
- White balance
- Autofocus mode
- Picture profile
This speeds up future shoots.
Learn Basic Color Grading
Color grading can dramatically improve your footage.
Even simple adjustments to:
- Contrast
- Saturation
- White balance
Can elevate your videos.
Control Your Background
Professional YouTubers carefully design their backgrounds.
Use:
- Depth
- Practical lights
- Clean organization
This improves production value instantly.
What frame rate is best for YouTube videos?
For most creators, 24fps or 30fps is ideal. Use 60fps when planning to create slow-motion footage.
Should I shoot YouTube videos in 4K?
Yes. If your camera supports it, 4K provides better image quality and flexibility during editing.
What ISO should I use for YouTube videos?
Use the lowest ISO possible while maintaining proper exposure. Typically ISO 100–400 provides the cleanest results.
Is autofocus good enough for YouTube videos?
Modern autofocus systems are excellent. Eye-tracking autofocus is especially useful for solo creators.
Should I use Auto White Balance?
No. Manual white balance provides consistent colors and a more professional look.
Internal Linking Suggestions
📚 Learn Articles
- “What Is Dynamic Range in Cameras? Simple Explanation”
- “How to Color Grade Video for a Cinematic Look (Complete Beginner to Pro Workflow)“
- “Photography Composition Rules Every Beginner Should Learn”
🎥 Gear Articles
- “Best Budget Camera for Beginners in Photography”
- “Best Lenses for Portrait Photography (Beginner to Pro)”
Pillar Guide
📚 Educational books
- The Beginner’s Guide to Digital Photography (2026 Edition): Master Exposure, Composition & Lighting in 30 Days: A Step-by-Step Manual Mode Guide for DSLR & Mirrorless Cameras + Printable Cheat Sheets Kindle Edition
- Cinematic Lighting for Beginners: Practical Setups & Step-by-Step Guides
Conclusion
Mastering the best camera settings for YouTube videos is one of the fastest ways to improve your content quality without spending thousands on new gear.
Start with these core settings:
- Resolution: 4K
- Frame Rate: 24fps or 30fps
- Shutter Speed: Double your frame rate
- Aperture: f/1.8–f/4
- ISO: As low as possible
- White Balance: Manual
- Autofocus: Eye Tracking Enabled
Combine these settings with good lighting, quality audio, and consistent practice, and you’ll create videos that look far more professional and engaging.
The best camera settings won’t make you successful overnight, but they will help your content look more polished, build viewer trust, and keep audiences watching longer.
Start applying these settings in your next video, and you’ll immediately notice the difference.