If you sell products online, one thing will influence your sales more than almost anything else:
Your photos.
People can’t touch, hold, or inspect your products online. Your images become your salesperson.
Unfortunately, many creators and small business owners make the same mistake: they assume professional product photography requires an expensive studio, thousands of dollars in equipment, and years of experience.
That’s simply not true.
Today, you can learn how to take professional product photos at home using affordable gear, natural light, and a simple workflow that delivers impressive results.
Whether you sell products on:
- Etsy
- Amazon
- Shopify
- eBay
- Instagram Shop
- Your own website
Good product photography can dramatically increase clicks, trust, and conversions.
In this guide, you’ll learn the exact process photographers use to create professional-looking product images from home.
By the end, you’ll know how to build a mini studio, choose the right settings, avoid common mistakes, and create images that make your products stand out.
Table of Contents
Why Product Photography Matters
Customers buy with their eyes first.
Studies consistently show that high-quality product photos can improve:
- Click-through rates
- User trust
- Conversion rates
- Social media engagement
Professional images help customers answer questions like:
- What does the product look like?
- What size is it?
- What texture does it have?
- How will it fit into their lives?
Good photos reduce uncertainty.
Less uncertainty leads to more sales.
What You Need Before Starting
The good news:
You do not need a professional studio.
You only need a few essentials.
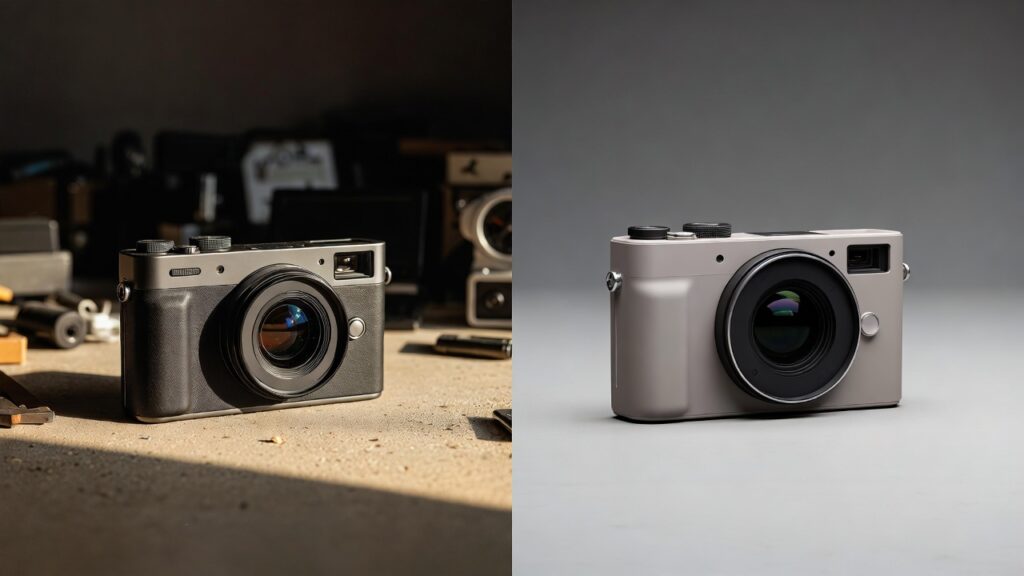
Camera
You can use:
Smartphone
Modern smartphones work extremely well.
Examples:
- iPhone 13 or newer
- Samsung Galaxy S22 or newer
- Google Pixel devices
Mirrorless Camera
Examples:
- Sony ZV-E10
- Canon R50
- Nikon Z30
DSLR Camera
Examples:
- Canon 90D
- Nikon D5600
Lighting
Lighting is more important than your camera.
Recommended:
Natural Window Light
Free and beginner-friendly.
Softbox Lights
Affordable and reliable.
⭐ Our top pick
Best Softbox Kits for Beginners
These beginner-friendly softbox kits give you studio-quality lighting at a fraction of the cost — perfect for product photography at home.
See Best Softbox Kits →* This post contains affiliate links. We may earn a commission at no extra cost to you.
LED Panels
Portable and easy to control.
⭐ Our top pick
Best LED lights for product photography
LED panels give you consistent, adjustable lighting that works great for products of any size. These are our top picks for color accuracy, brightness, and value.
See Best LED Lights offer →* This post contains affiliate links. We may earn a commission at no extra cost to you.
Background
Simple is better.
Use:
- White poster board
- Foam board
- Vinyl backdrop
- Fabric backdrop
Avoid distracting patterns.
⭐ Our top pick
Best Foam Boards and Backdrops for Product Photography
Clean backgrounds make your products pop. Whether you need white, black, or textured surfaces, these foam boards and backdrops are affordable, easy to set up, and reusable.
See Best Foam Boards and Backdrops→* This post contains affiliate links. We may earn a commission at no extra cost to you.
Tripod
A tripod improves:
- Sharpness
- Consistency
- Efficiency
Even inexpensive tripods work well.
⭐ Our top pick
Best Budget Tripods for Product Photography
A shaky camera ruins sharp product shots. These budget tripods offer solid stability, easy height adjustment, and compatibility with most cameras and smartphones.
See Best Tripods →* This post contains affiliate links. We may earn a commission at no extra cost to you.
Cleaning Supplies
Always keep products clean.
Use:
- Microfiber cloth
- Dust blower
- Gloves
Customers notice fingerprints immediately.
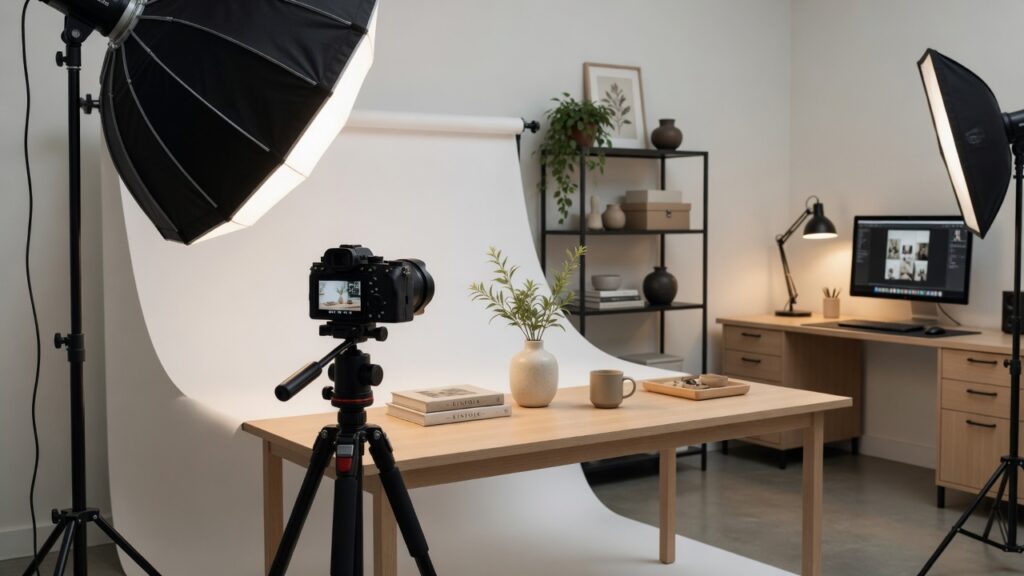
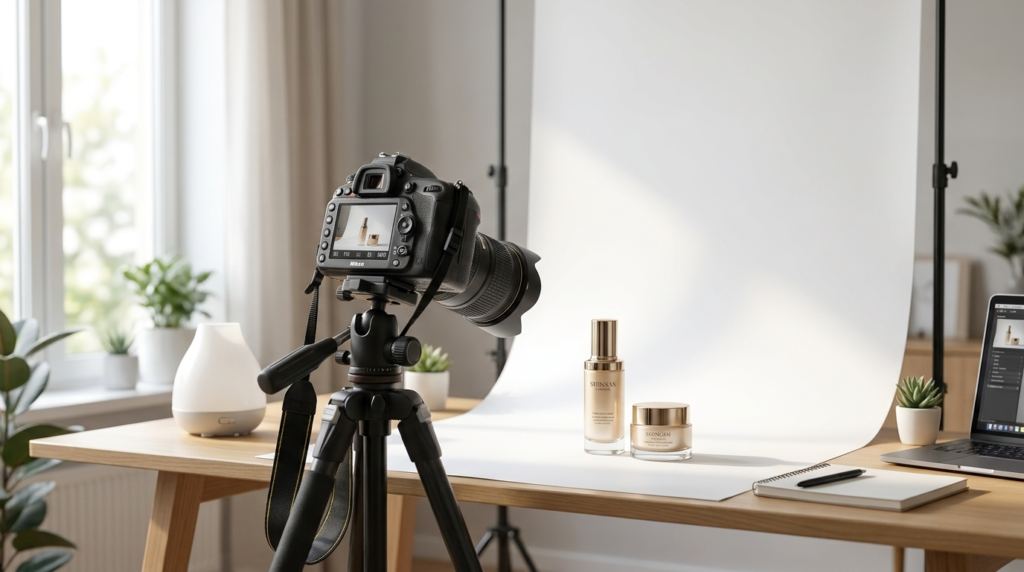
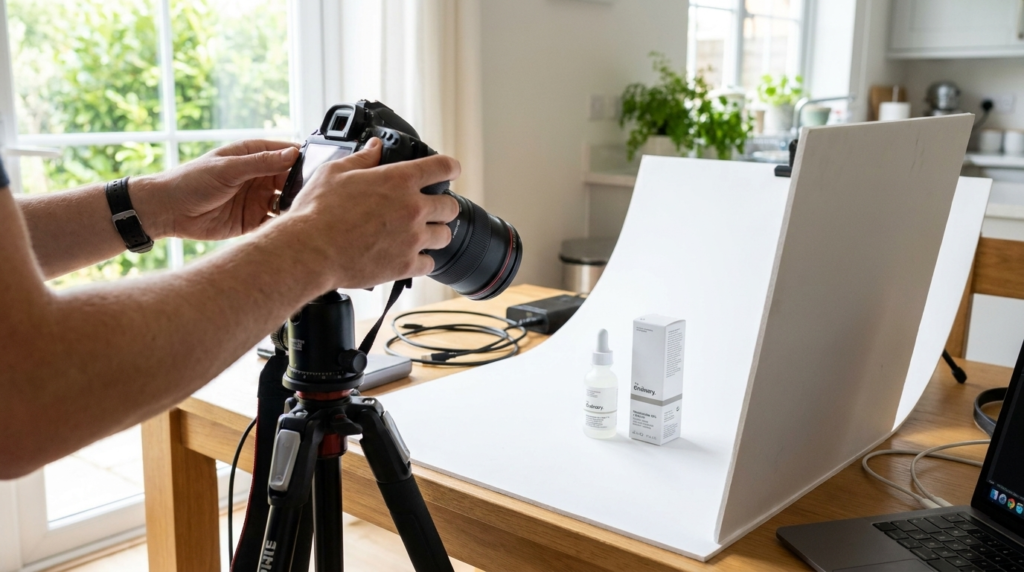
Step-by-Step Process: How to Take Professional Product Photos at Home
Step 1: Set Up Your Shooting Space
Choose a clean area.
Ideal locations:
- Near a large window
- Minimal clutter
- Neutral walls
Turn off overhead lights.
Mixing light sources creates inconsistent colors.
Step 2: Create a Simple Background
Professional product photos often use simple backgrounds.
Popular options:
White
Perfect for:
- Amazon
- E-commerce
Light Gray
Adds sophistication.
Beige
Warm lifestyle aesthetic.
Black
Luxury products.
Step 3: Position Your Lighting
Natural light setup:
Place your product:
- 45 degrees from the window
- Indirect sunlight only
Avoid direct sunlight.
Direct sunlight creates:
- Harsh shadows
- Blown highlights
Step 4: Add a Reflector
Reflectors bounce light back.
You can use:
- White foam board
- White cardboard
This softens shadows.
Step 5: Stabilize Your Camera
Use a tripod.
If shooting handheld:
- Keep elbows tucked in
- Use both hands
Stability increases image sharpness.
Step 6: Frame Your Product
Leave breathing room.
Include multiple angles.
Capture:
Front view
45-degree angle
Side view
Back view
Top-down view
Detail close-ups
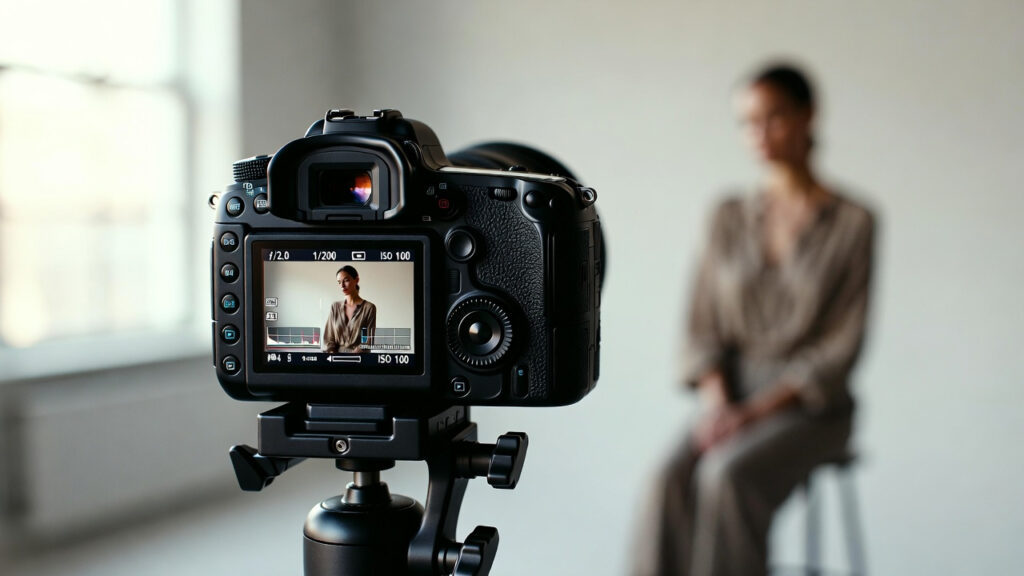
Step 7: Take Lifestyle Photos
Don’t only show the product.
Show it in use.
Examples:
Coffee mug:
❌ Mug alone
✅ Person holding a mug
Step 8: Edit Your Photos
Adjust:
- Exposure
- White balance
- Contrast
- Highlights
- Shadows
Recommended apps:
- Lightroom
- Snapseed
- Photoshop
- Canva
Avoid over-editing.
Camera, Settings & Workflow Tips
Shoot in Manual Mode
Control:
- ISO
- Aperture
- Shutter Speed
This ensures consistency.
Use Low ISO
Recommended:
ISO 100–200
Benefits:
- Cleaner images
- Less noise
Use Narrow Aperture
Recommended:
f/8 to f/11
This keeps products sharp.
Use Proper Shutter Speed
Tripod:
1/20 to 1/60
Handheld:
1/125 or faster
Use RAW Format
RAW files preserve more information.
Benefits:
- Better color correction
- Better exposure recovery
White Balance
Avoid Auto White Balance.
Use:
5000K–5600K
for daylight.
Create a Repeatable Workflow
Professional workflow:
- Clean product
- Set background
- Set lighting
- Frame shot
- Capture multiple angles
- Edit
- Export
Repeat every time.

Real-World Mistakes to Avoid
Using Direct Flash
Flash creates:
- Harsh reflections
- Strong shadows
Avoid unless diffused.
Cluttered Backgrounds
Busy environments distract buyers.
Keep backgrounds clean.
Ignoring Product Details
Always check:
- Dust
- Fingerprints
- Scratches
Shooting Too Close
Products need breathing room.
Leave negative space.
Using Mixed Lighting
Don’t combine:
- Window light
- Ceiling lights
- Lamps
Use one light source.
Overediting
Avoid:
- Excessive saturation
- Heavy sharpening
- Unrealistic colors
Customers want accuracy.
Pro Tips to Improve Results
Create a Shot List
Professional photographers plan shots.
Examples:
- Hero image
- Detail image
- Packaging shot
- Lifestyle shot
Study Competitors
Analyze:
- Lighting
- Composition
- Backgrounds
Get inspiration.
Don’t copy.
Use Color Psychology
Colors influence emotions.
Examples:
White:
- Clean
- Minimal
Black:
- Luxury
Green:
- Natural
Blue:
- Trustworthy
Maintain Brand Consistency
Keep:
- Same lighting
- Same backgrounds
- Same editing style
Consistency builds brand recognition.
Tell a Story
Ask:
How does someone use this product?
Storytelling sells.
Batch Your Shoots
Photograph multiple products together.
Benefits:
- Saves time
- Creates consistency
FAQ
Can I take professional product photos with a smartphone?
Yes.
Modern smartphones produce excellent product photos when combined with good lighting and proper composition.
What lighting is best for product photography?
Soft natural window light is the easiest and most affordable option.
Softboxes are ideal for consistent results.
Do I need a white background?
No.
White backgrounds are best for marketplaces like Amazon, but lifestyle backgrounds can work for branding.
What camera settings should I use?
Start with:
ISO 100
f/8
1/60 shutter speed
Adjust depending on lighting conditions.
Why do my product photos look blurry?
Common causes:
Camera shake
Wrong focus
Low shutter speed
Handheld shooting
A tripod usually solves this.
Internal Linking Suggestions
📚 Learn Articles
- “What Is Dynamic Range in Cameras? Simple Explanation”
- “How to Color Grade Video for a Cinematic Look (Complete Beginner to Pro Workflow)“
- “Photography Composition Rules Every Beginner Should Learn”
🎥 Gear Articles
- “Best Budget Camera for Beginners in Photography”
- “Best Lenses for Portrait Photography (Beginner to Pro)”
Pillar Guide
📚 Educational books
- The Beginner’s Guide to Digital Photography (2026 Edition): Master Exposure, Composition & Lighting in 30 Days: A Step-by-Step Manual Mode Guide for DSLR & Mirrorless Cameras + Printable Cheat Sheets Kindle Edition
- Cinematic Lighting for Beginners: Practical Setups & Step-by-Step Guides
Conclusion
Learning how to take professional product photos at home is one of the highest-return skills any creator, entrepreneur, or small business owner can develop.
You don’t need expensive equipment.
You need:
- Good lighting
- Simple backgrounds
- Proper camera settings
- A repeatable workflow
Start simple.
Master the fundamentals.
Then build your own style over time.
Your photos don’t need to be perfect.
They need to clearly communicate value and help customers trust your products.
The more you practice, the more professional your images will become.