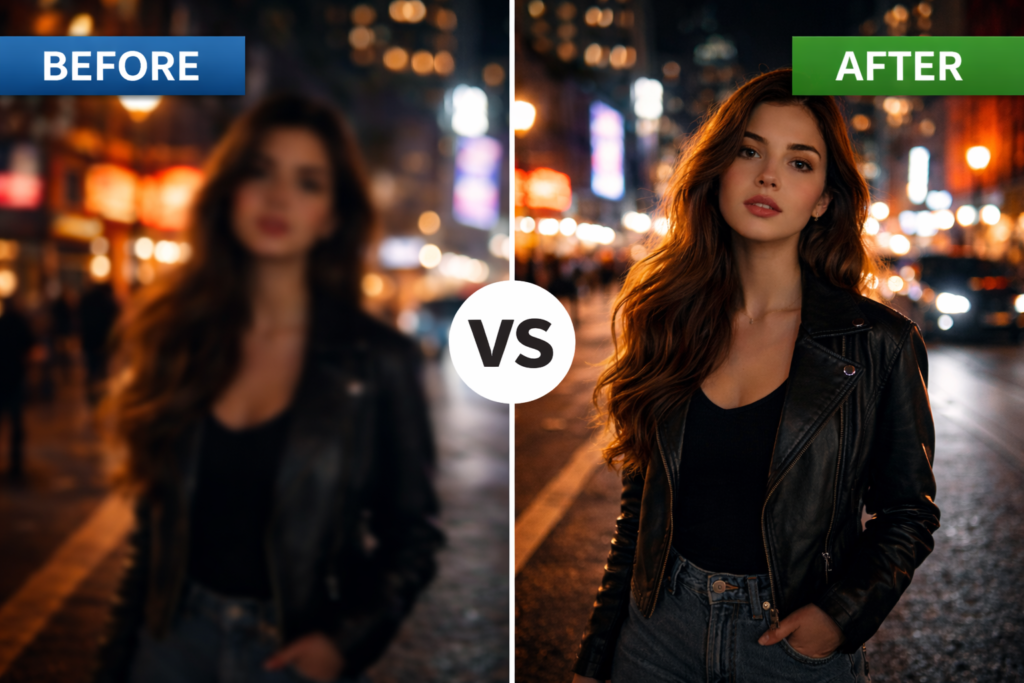
You take a great photo… but when you look at it later, it feels flat, dull, or not as impressive as what you see online.
That’s because professional-looking photos aren’t just captured—they’re edited with intention.
Learning how to edit photos like a professional is one of the fastest ways to level up your photography, even if you’re shooting with a smartphone.
In this guide, you’ll learn a simple, repeatable editing workflow used by professionals—broken down step-by-step so you can apply it immediately.
Table of Contents
What You Need Before Starting
Before you start editing, make sure you have the basics ready.
1. A Good Photo (Important)
Editing enhances a photo—it doesn’t fix everything.
Make sure your image has:
- Decent lighting
- Clear subject
- Proper focus
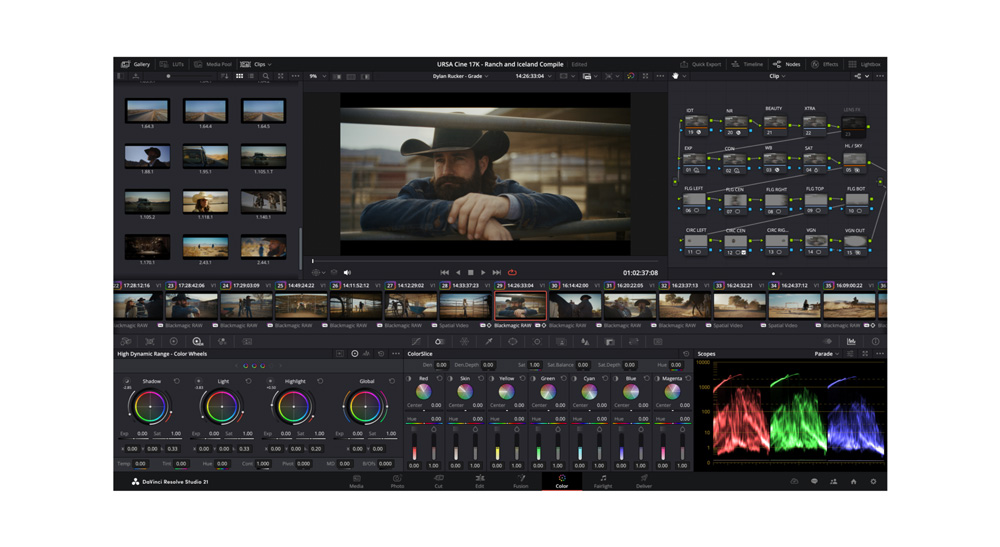
2. Editing Software
Beginner-friendly tools:
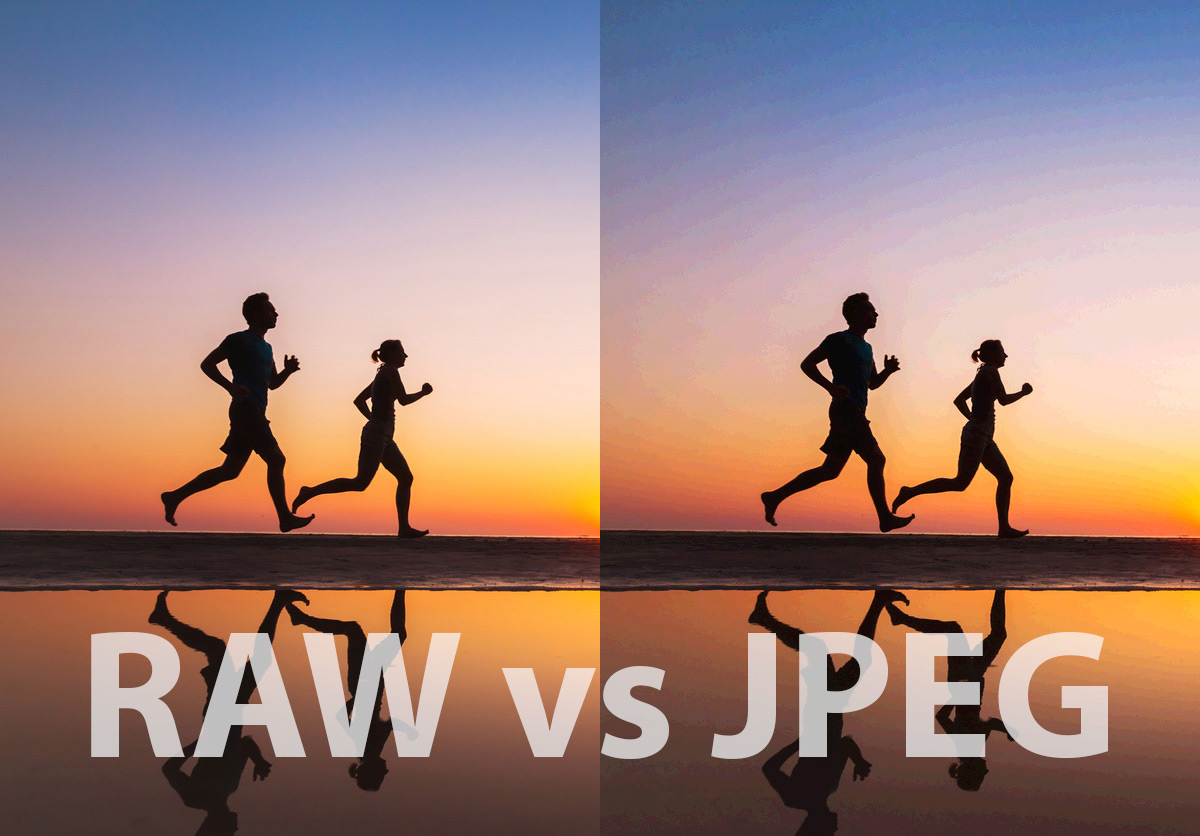
3. Shoot in RAW (If Possible)
RAW files:
- Capture more detail
- Give more flexibility
Step-by-Step Process to Edit Photos Like a Professional
Step 1: Adjust Exposure (Fix Brightness First)
Start with the foundation.
Adjust:
- Exposure → overall brightness
- Highlights → reduce bright areas
- Shadows → recover dark areas
Goal: Balanced image
Step 2: Fix White Balance (Color Temperature)
Correct colors:
- Too blue → increase warmth
- Too yellow → cool it down
Natural skin tones are key
Step 3: Adjust Contrast
Increase contrast slightly to:
- Add depth
- Make the image pop
But avoid: Over-contrast (harsh look)
Step 4: Work on Colors (HSL)
Fine-tune colors:
- Saturation → intensity
- Hue → color tone
- Luminance → brightness of color
Focus on:
- Skin tones
- Sky
- Greens
Step 5: Add Clarity & Texture
- Clarity → midtone contrast
- Texture → detail
Use lightly:
Too much = unnatural
Step 6: Sharpen the Image
Sharpen details:
- Eyes (for portraits)
- Edges
Avoid:
Over-sharpening (noise)
Step 7: Crop & Straighten
Improve composition:
- Align horizon
- Apply the rule of thirds
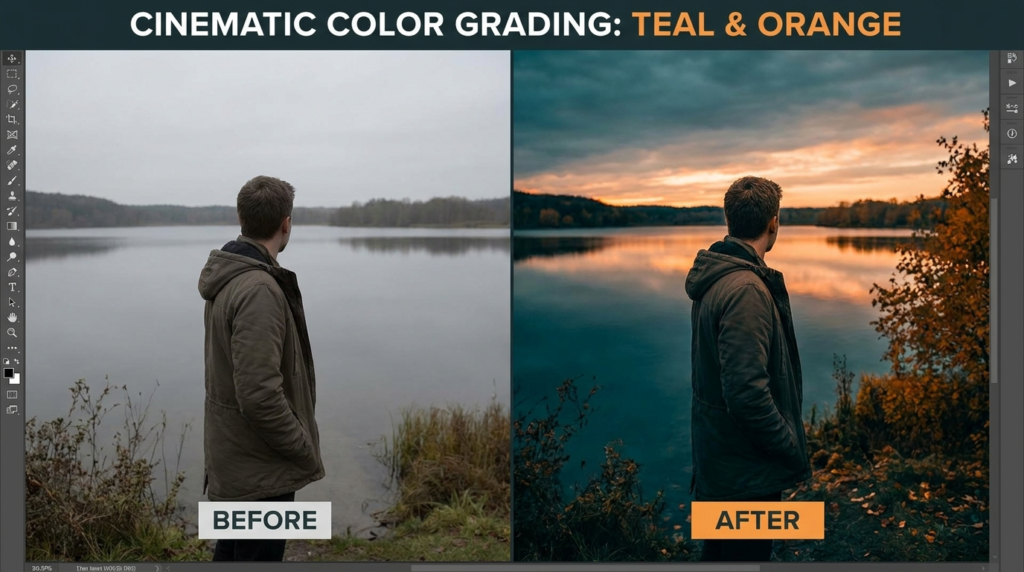
Step 8: Add Final Touch (Color Grading)
A professional look comes from:
- Subtle color tones
- Mood consistency
Camera / Settings / Workflow Tips
Shoot for Editing
Always think: “Can I edit this later?”
Expose Correctly
Avoid:
- Blown highlights
- Crushed shadows
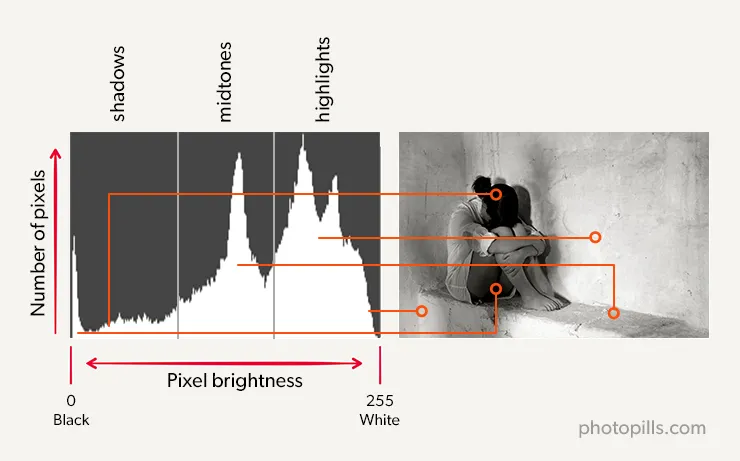
Use Histogram
Helps you:
- Balance exposure
- Avoid clipping
Use Presets (Smart Way)
Presets:
- Speed up workflow
- Keep consistency
But: Always adjust manually after
Real-World Mistakes to Avoid
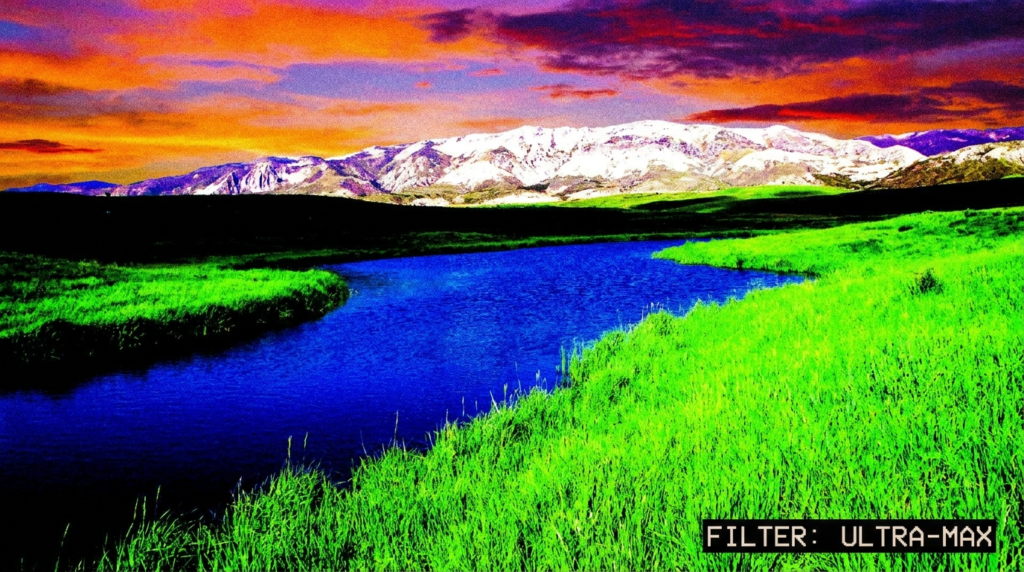
1. Overediting
Too much:
- Saturation
- Clarity
- Contrast
Looks fake
2. Ignoring Skin Tones
Wrong tones = unrealistic portraits
3. Using Too Many Effects
Keep it simple.
4. Not Following a Workflow
Random edits = inconsistent results
5. Editing on Bad Screens
Colors may look different elsewhere
Pro Tips to Improve Results
1. Edit with a Style in Mind
Decide:
- Bright & airy
- Dark & moody
- Cinematic
2. Train Your Eye
Study:
- Instagram creators
- Movies
- Professional edits
3. Use Color Theory
Complementary colors:
- Blue + orange
- Green + magenta
4. Practice with the Same Photo
Edit:
- Same photo multiple ways
5. Take Breaks
Fresh eyes = better edits
How do professionals edit photos?
Professionals follow a structured workflow: exposure → color correction → contrast → details → color grading.
What is the best app to edit photos like a professional?
Lightroom is the most popular tool for beginners and professionals.
Can I edit photos professionally on my phone?
Yes. Apps like Lightroom Mobile and Snapseed allow high-quality editing.
How long does it take to learn photo editing?
You can learn basics in a few days, but mastering it takes consistent practice.
Do presets make photos look professional?
Presets help, but manual adjustments are necessary for best results.
Conclusion
Learning how to edit photos like a professional is not about complex tools—it’s about following a clear workflow and making intentional adjustments.
If you:
- Fix exposure first
- Adjust colors carefully
- Keep edits natural
- Practice consistently
Your photos will improve dramatically.
Final Action Step
Take one of your photos right now…
Follow this workflow step-by-step…
And compare your result.
That’s how you go from beginner to professional—one edit at a time.
Internal Linking Suggestions
📚 Learn Articles
- “What Is Dynamic Range in Cameras? Simple Explanation”
- “Photography Composition Rules Every Beginner Should Learn”