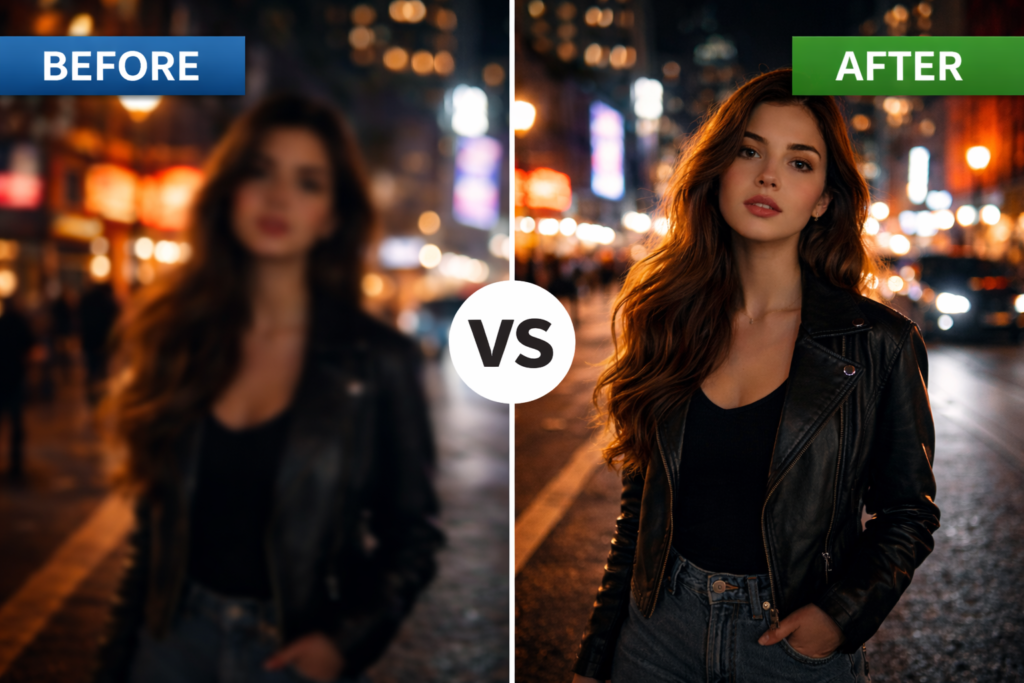
Choosing the best camera settings for portrait photography can make the difference between a flat, amateur-looking photo and a professional portrait that truly stands out.
Many beginners struggle with portraits because they rely on automatic camera modes. While auto settings may work sometimes, they rarely give you full control over background blur, lighting balance, skin tones, and sharpness.
The good news is that once you understand a few core settings — aperture, shutter speed, ISO, and focus modes. You can consistently capture stunning portraits with almost any camera.
In this step-by-step guide, you’ll learn the best camera settings for portrait photography, how to adjust them depending on lighting conditions, and how professional photographers create that beautiful blurred background look.
This tutorial is designed for beginner to intermediate photographers who want practical techniques they can apply immediately.
Table of Contents
What You Need Before Starting
Before adjusting camera settings, it’s important to prepare the right equipment and environment.
Camera
Any camera that allows manual or semi-automatic control will work, including:
- DSLR cameras
- Mirrorless cameras
- Advanced smartphones with manual mode
Manual control lets you adjust aperture, shutter speed, and ISO, which are essential for portraits.
Portrait Lens
While you can shoot portraits with almost any lens, some lenses produce better results.
Popular portrait focal lengths include:
- 50mm
- 85mm
- 70–200mm
These lenses help create a natural perspective and background blur (bokeh).
Learn more about the lenses in our previous article > Best Lenses for Portrait Photography (Beginner to Pro)
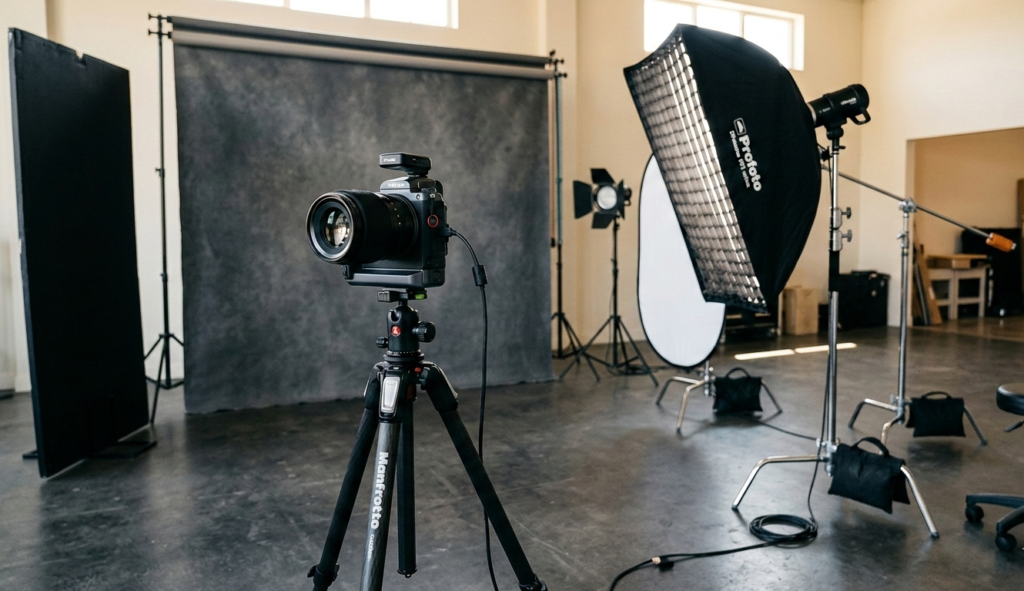
Lighting
Lighting is one of the most important factors in portrait photography.
Good lighting options include:
- Natural window light
- Golden hour sunlight
- Softboxes or studio lights
- Reflectors
Soft lighting creates flattering skin tones and gentle shadows.
Best Camera Settings for Portrait Photography (Step-by-Step)
To get professional portraits, you need to control three core settings for best camera settings for portrait photography, known as the exposure triangle.
These are:
Let’s break them down step by step.
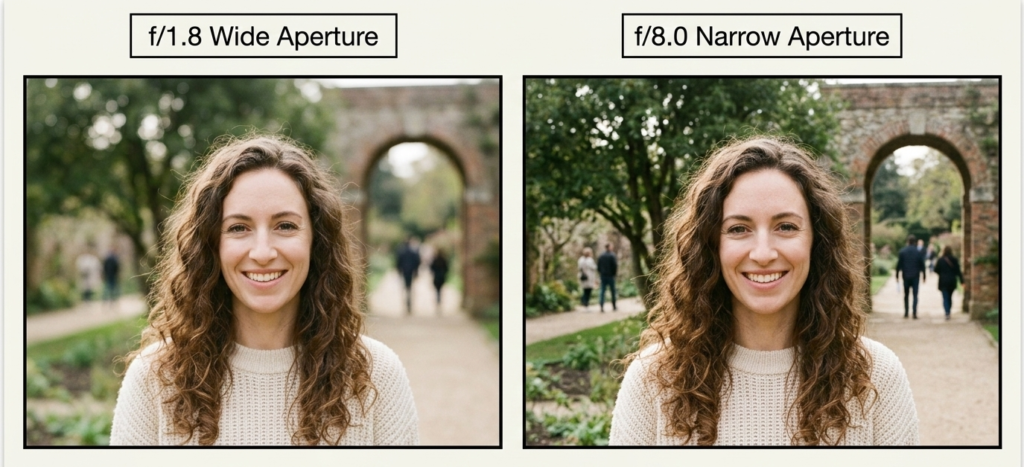
1. Set Your Aperture for Background Blur
The most important setting in portrait photography is aperture.
A wide aperture produces a shallow depth of field, blurring the background and highlighting the subject.
Recommended aperture settings:
- f/1.8 – f/2.8 → strong background blur
- f/3.5 – f/4 → balanced sharpness and blur
- f/5.6+ → sharper group portraits
For individual portraits, many photographers prefer:
f/1.8 to f/2.8
This creates the classic creamy bokeh effect.
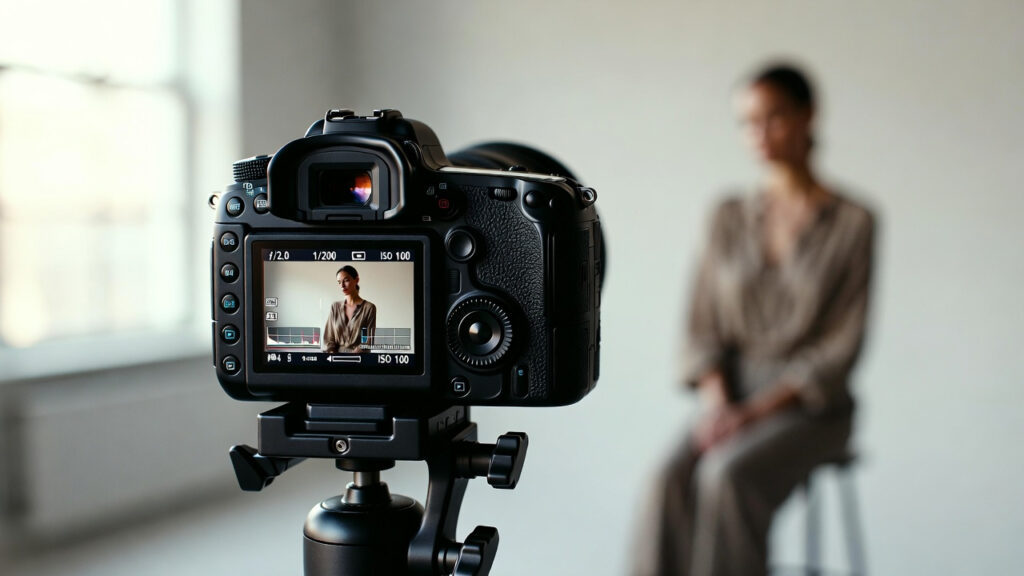
2. Adjust Shutter Speed for Sharp Images
Shutter speed controls how long the camera sensor is exposed to light.
For portraits, your goal is to avoid motion blur while keeping natural movement.
Recommended shutter speeds:
- 1/125 → safe for most portraits
- 1/200 → ideal for handheld shooting
- 1/500 → outdoor portraits with movement
A good rule is:
Shutter speed should be at least double your focal length.
Example:
- Shooting with an 85mm lens → use at least 1/170 shutter speed
3. Set ISO for Clean Images
ISO controls your camera’s sensitivity to light.
Higher ISO values brighten images but can introduce noise or grain.
Recommended ISO levels:
- ISO 100 – 200 → bright outdoor portraits
- ISO 400 – 800 → indoor natural light
- ISO 1600+ → low-light situations
Whenever possible, keep ISO as low as possible for the cleanest results.
4. Choose the Right Focus Mode
For portraits, focus must be precise on the subject’s eyes.
Use:
Single-point autofocus
Many modern cameras also offer Eye-Detection Autofocus, which automatically focuses on the subject’s eyes.
This dramatically improves portrait sharpness.
Camera Settings and Workflow Tips
Once your basic settings are correct, a few workflow adjustments can significantly improve your portraits.
Use Aperture Priority Mode
If you’re not comfortable with full manual mode, try:
Aperture Priority (A or Av mode)
This allows you to:
- control aperture
- Let the camera adjust the shutter speed automatically
It’s one of the easiest ways to start shooting portraits professionally.
Adjust White Balance
White balance controls the color temperature of your photos.
Common options:
- Daylight → natural outdoor portraits
- Cloudy → warmer skin tones
- Shade → balanced outdoor color
Correct white balance ensures natural skin tones.
Use Burst Mode for Natural Expressions
People blink and move constantly.
Using burst mode lets you capture multiple frames and choose the best one later.
Real-World Mistakes to Avoid
Many beginner photographers make the same portrait mistakes. Avoiding these can dramatically improve your results.
Using Aperture That Is Too Wide
While f/1.4 creates beautiful blur, it can also cause eyes to be sharp while ears become blurry.
Sometimes f/2.2 or f/2.8 gives a better balance.
Poor Lighting Direction
Harsh overhead light can create unflattering shadows under the eyes and nose.
Instead, position your subject:
- facing the window light
- during golden hour
- under soft shade outdoors
Ignoring Background
Backgrounds can ruin otherwise great portraits.
Avoid:
- busy environments
- distracting colors
- objects behind the subject’s head
Look for clean backgrounds with distance behind the subject.
Pro Tips to Improve Portrait Results
Once you master camera settings, these professional techniques will elevate your portraits.
Use Foreground Elements
Adding objects in the foreground creates depth and cinematic framing.
Examples:
- leaves
- door frames
- glass reflections
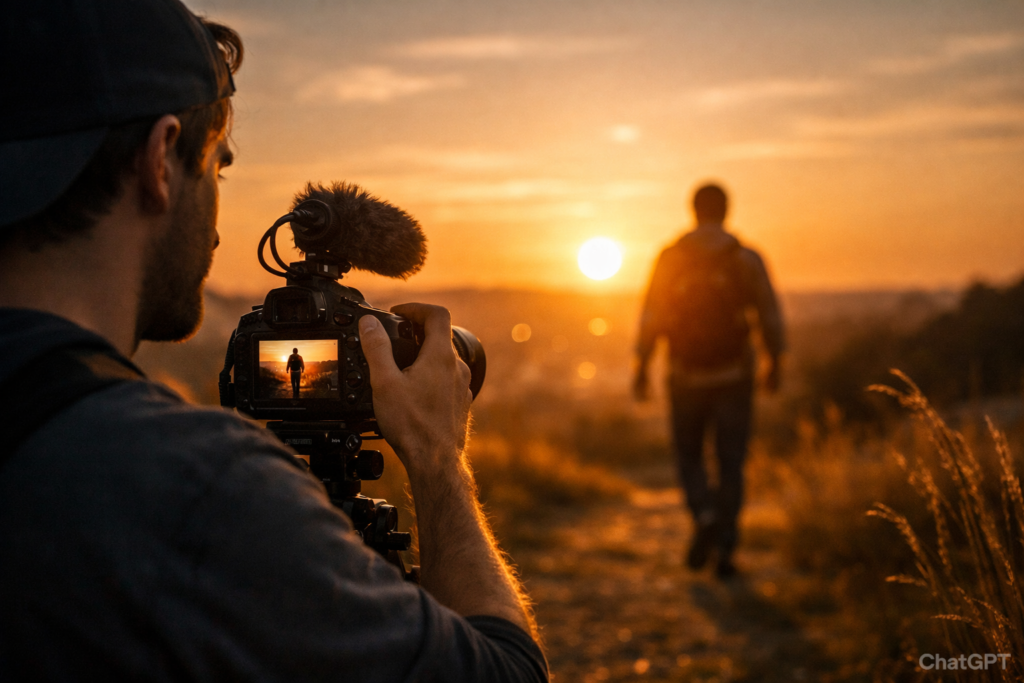
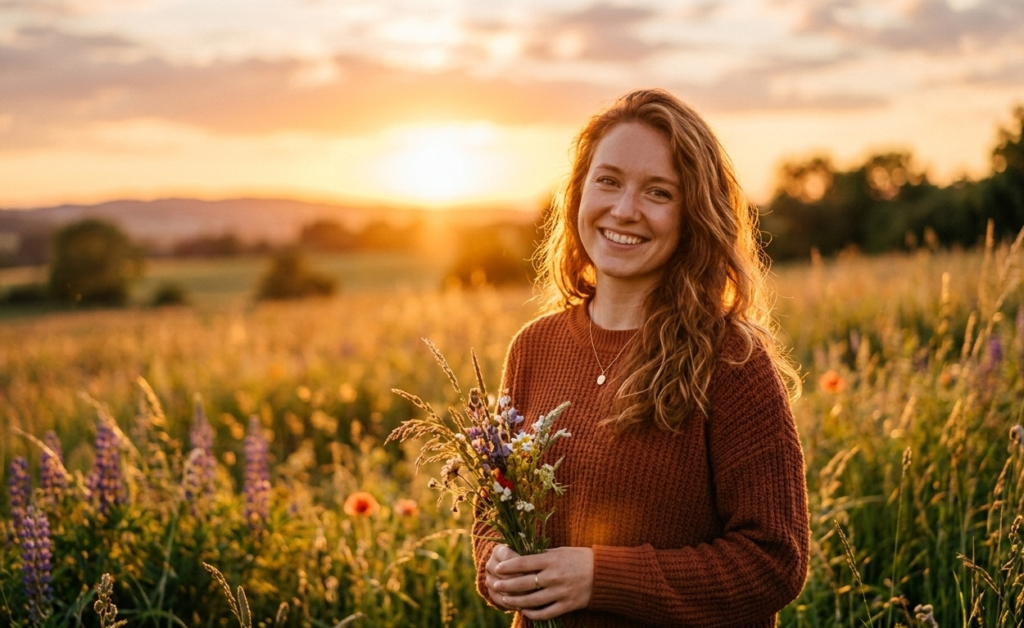
Shoot During Golden Hour
Golden hour happens:
- 1 hour after sunrise
- 1 hour before sunset
This lighting produces:
- soft shadows
- warm skin tones
- natural glow
Many professional portrait photographers rely on golden hour lighting.
Direct Your Subject
Great portraits are not only about camera settings.
Guide your subject with simple instructions:
- turn shoulders slightly
- look toward the light
- relax hands
- lean slightly forward
Small posing changes create more natural portraits.
What is the best aperture for portrait photography?
Most photographers use f/1.8 to f/2.8 for single portraits to create strong background blur while keeping the subject sharp.
What ISO should I use for portraits?
Use the lowest ISO possible:
ISO 100–200 outdoors
ISO 400–800 indoors
Lower ISO values produce cleaner images.
What shutter speed is best for portraits?
A safe shutter speed for portraits is 1/125 or faster to prevent motion blur.
Can beginners shoot portraits in manual mode?
Yes. Beginners can start with Aperture Priority mode, which simplifies the process while still controlling depth of field.
Which lens is best for portrait photography?
Popular portrait lenses include:
50mm f/1.8
85mm f/1.8
70–200mm f/2.8
These lenses create a flattering perspective and background blur.
Conclusion
Understanding the best camera settings for portrait photography gives you full creative control over your images.
Instead of relying on automatic settings, you can intentionally adjust aperture, shutter speed, and ISO to achieve professional-looking portraits.
To summarize:
- Use wide aperture (f/1.8–f/2.8) for background blur
- Choose a shutter speed above 1/125 for sharpness
- Keep ISO as low as possible
- Focus on the subject’s eyes
With practice, these settings will become second nature.
Portrait photography is not only about technical settings — it’s about light, emotion, and connection with your subject.
Start experimenting with these settings today, and you’ll quickly notice your portraits becoming sharper, more professional, and visually compelling.